Follow Me On Social Media!

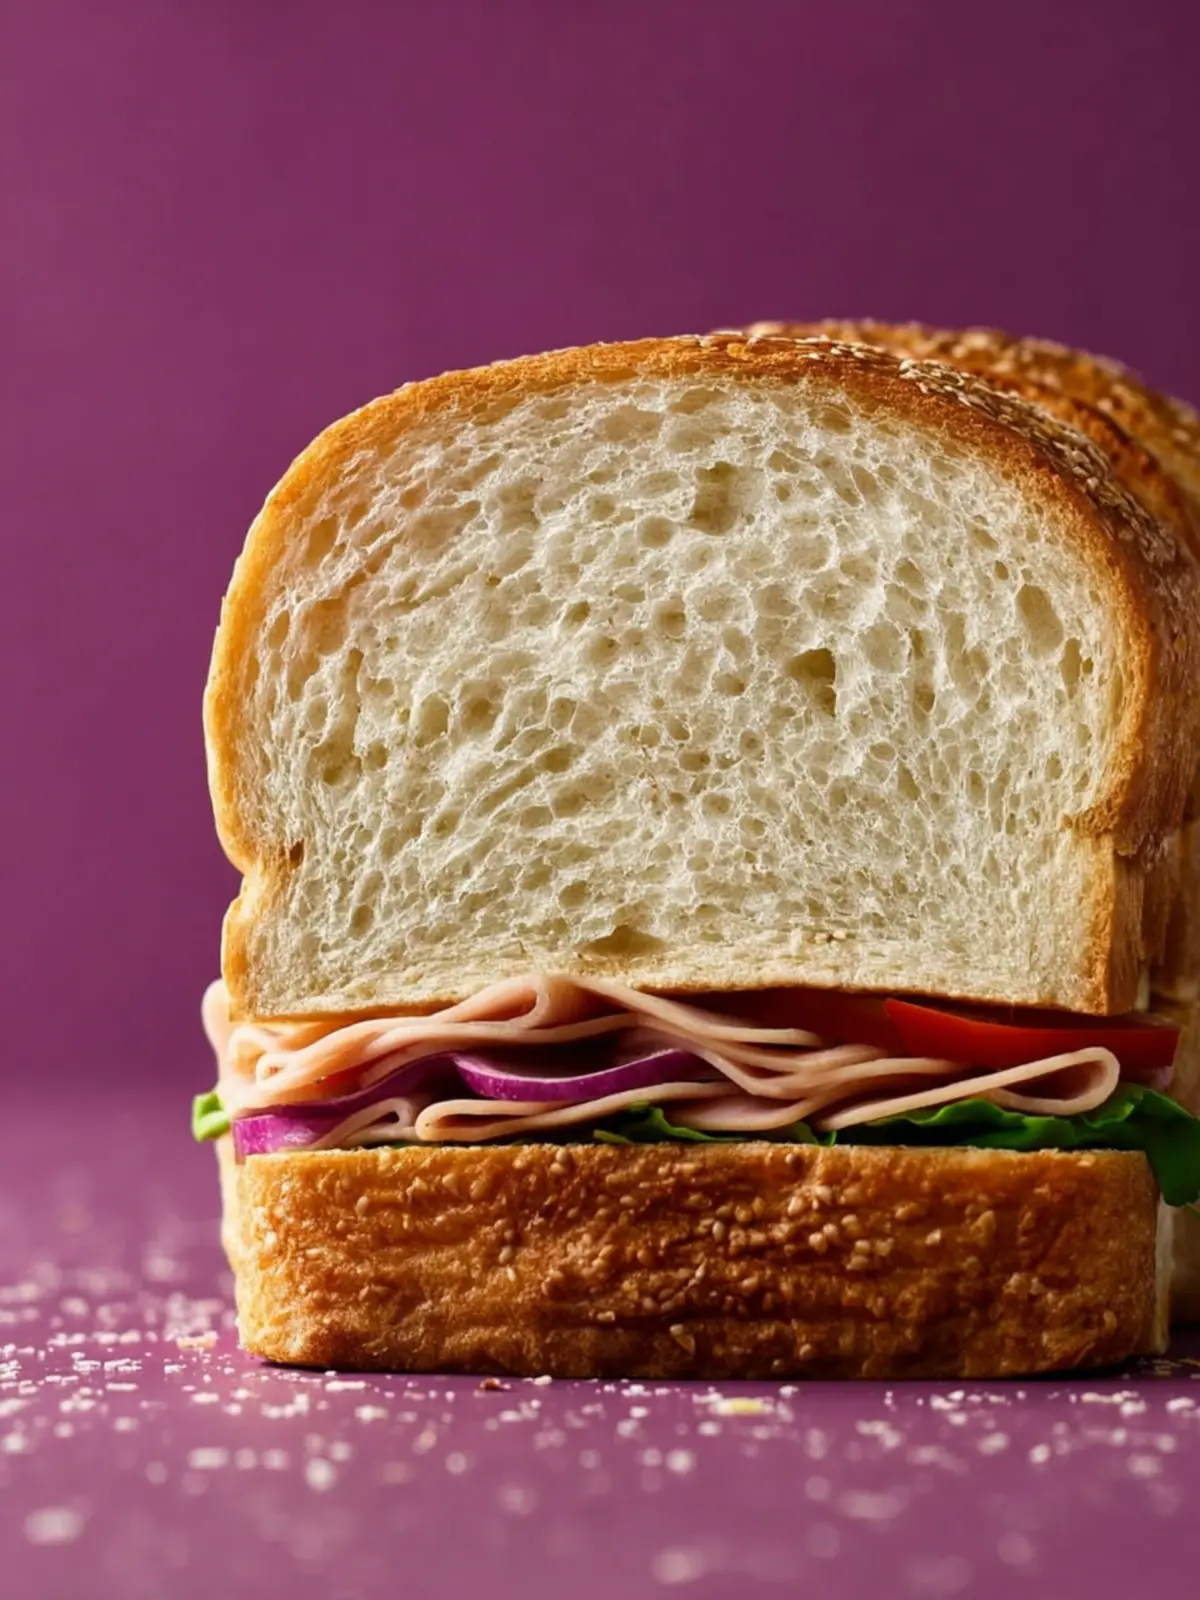
Simply Sandwich Bread: The Best Homemade Loaf You’ll Love

Introduction to Simply Sandwich Bread
There’s a cozy charm in baking simply sandwich bread at home that you just can’t replicate with store-bought loaves. Imagine the warm aroma filling your kitchen as you blend flour, yeast, and water, each ingredient melding together to create a beautiful loaf that’s not just food but a labor of love. This isn’t just about making bread; it’s about embracing a process that connects you with the fundamentals of cooking and nourishes you from the inside out.
So, what makes homemade bread so satisfying? The answer is layered—a mix of nostalgia, creativity, and that unbeatable flavor. When you bake your own bread, you’re not just saving money or avoiding preservatives; you’re creating something uniquely yours. Each slice carries a story, whether it’s a sandwich shared with loved ones or a simple breakfast of toast slathered with butter. Plus, there’s a rewarding sense of achievement that comes with kneading dough by hand and watching it rise. With every step, you transform basic ingredients into something extraordinary.
In addition to being a delightful experience, making simply sandwich bread unlocks numerous possibilities for your meals. You can customize it with your favorite grains, seeds, or even herbs, making it not just a sandwich bread, but an artisan creation. Whether you’re gearing up for a busy week or preparing for a lovely weekend brunch, having a loaf of homemade bread at your disposal adds a touch of care to your everyday meals.
Moreover, consider the health benefits. By controlling the ingredients, you can make a wholesome loaf that’s free from artificial additives, tailored to suit your dietary preferences. It’s an excellent way to introduce your friends and family to the goodness of home baking while inviting them to partake in the process.
So roll up your sleeves and prepare to embrace the art of bread-making with this simply sandwich bread recipe. Trust us—once you taste that first warm slice, you’ll wonder why you ever settled for store-bought!
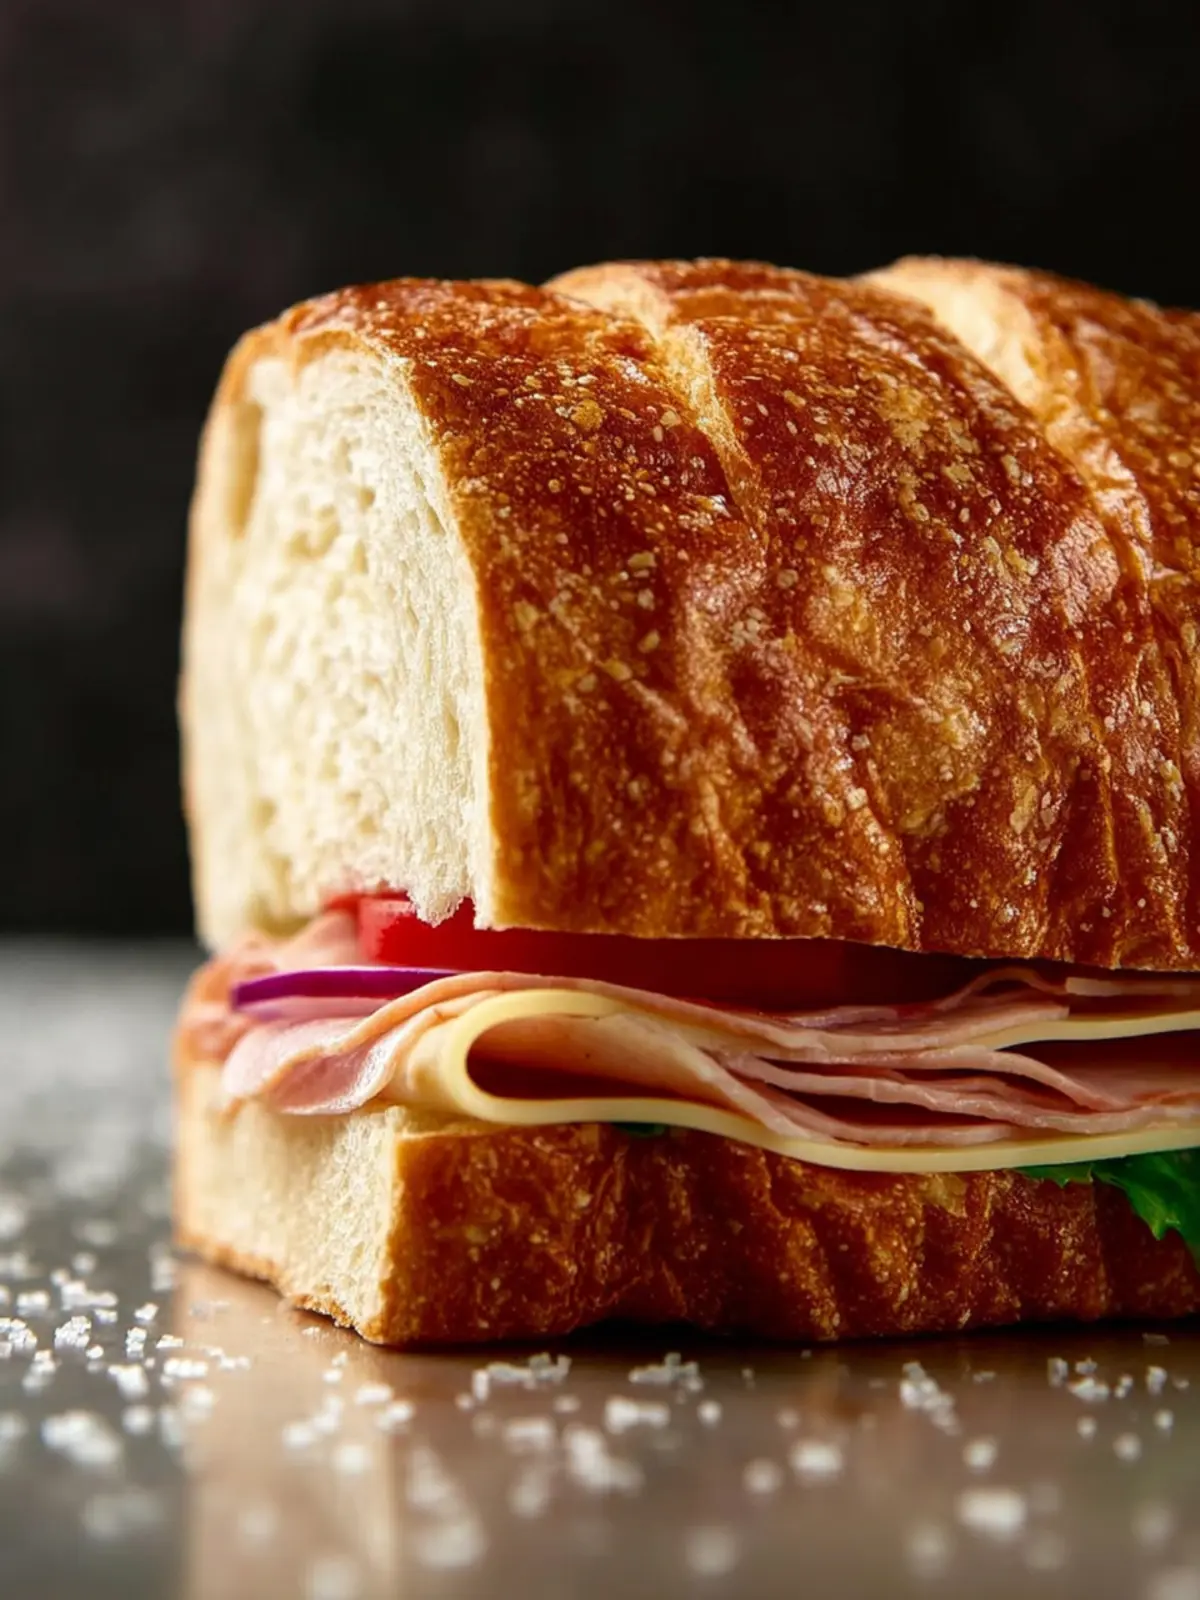
Key Ingredients for Simply Sandwich Bread
Creating the perfect simply sandwich bread begins with high-quality ingredients, each playing a pivotal role in achieving that delightful, comforting loaf. Here’s what you need to make it truly special:
-
All-Purpose Flour: The backbone of this bread, all-purpose flour provides the structure needed for a soft crumb. If you prefer a more rustic loaf, feel free to substitute with whole wheat flour for added fiber and flavor.
-
Yeast: Using active dry yeast will bring your bread to life. It’s the magic ingredient that helps the dough rise, creating air pockets for a fluffy texture. Always check the expiration date to ensure your yeast is active and ready to work!
-
Water: Warm water is vital for activating your yeast. It should be comfortably warm—too hot can kill the yeast, while too cold prevents it from working effectively.
-
Salt: Essential for flavor, salt also strengthens the dough and regulates yeast fermentation, helping to improve the overall texture and taste of your simply sandwich bread.
-
Butter: Adding softened butter to the dough contributes richness and helps create a tender crust. You can also use olive oil as a healthier alternative with a different flavor profile.
-
Sugar: Just a touch of sugar adds a hint of sweetness while feeding the yeast, ensuring a nice rise and a golden-brown crust.
With these fundamental ingredients, you’re well on your way to crafting a warm, comforting loaf of simply sandwich bread that elevates any meal!
Why You’ll Love This Simply Sandwich Bread
There’s something incredibly satisfying about baking your own simply sandwich bread. The process transforms simple ingredients into something warm, comforting, and versatile. Imagine the tantalizing aroma wafting through your kitchen—it’s a sensory experience you won’t forget.
A Perfect Base for Any Meal
This simply sandwich bread is the ultimate canvas for your culinary creativity. Whether you’re piling on deli meats, crisp veggies, or a smear of your favorite spread, this bread holds up beautifully. Its soft, light texture and slightly crispy crust make every bite a delight.
Easy to Make, Hard to Resist
What makes this recipe so appealing is its simplicity. You don’t need to be a baking expert to achieve a bakery-style loaf. With minimal ingredients and straightforward instructions, you’ll find yourself whipping up your own bread weekly. Not to mention, it’s a fantastic way to impress family and friends, showing off your newfound kitchen skills.
Healthy and Homemade
Choosing homemade bread over store-bought options means you have control over the ingredients. No preservatives, just wholesome goodness. Plus, you might be surprised to learn that baking your own bread can save you money in the long run. It’s a win-win for your palate and your wallet!
In addition to flavors and freshness, there’s a undeniable sense of achievement that comes with baking your own bread. So why not dive into this simply sandwich bread recipe and savor the journey?
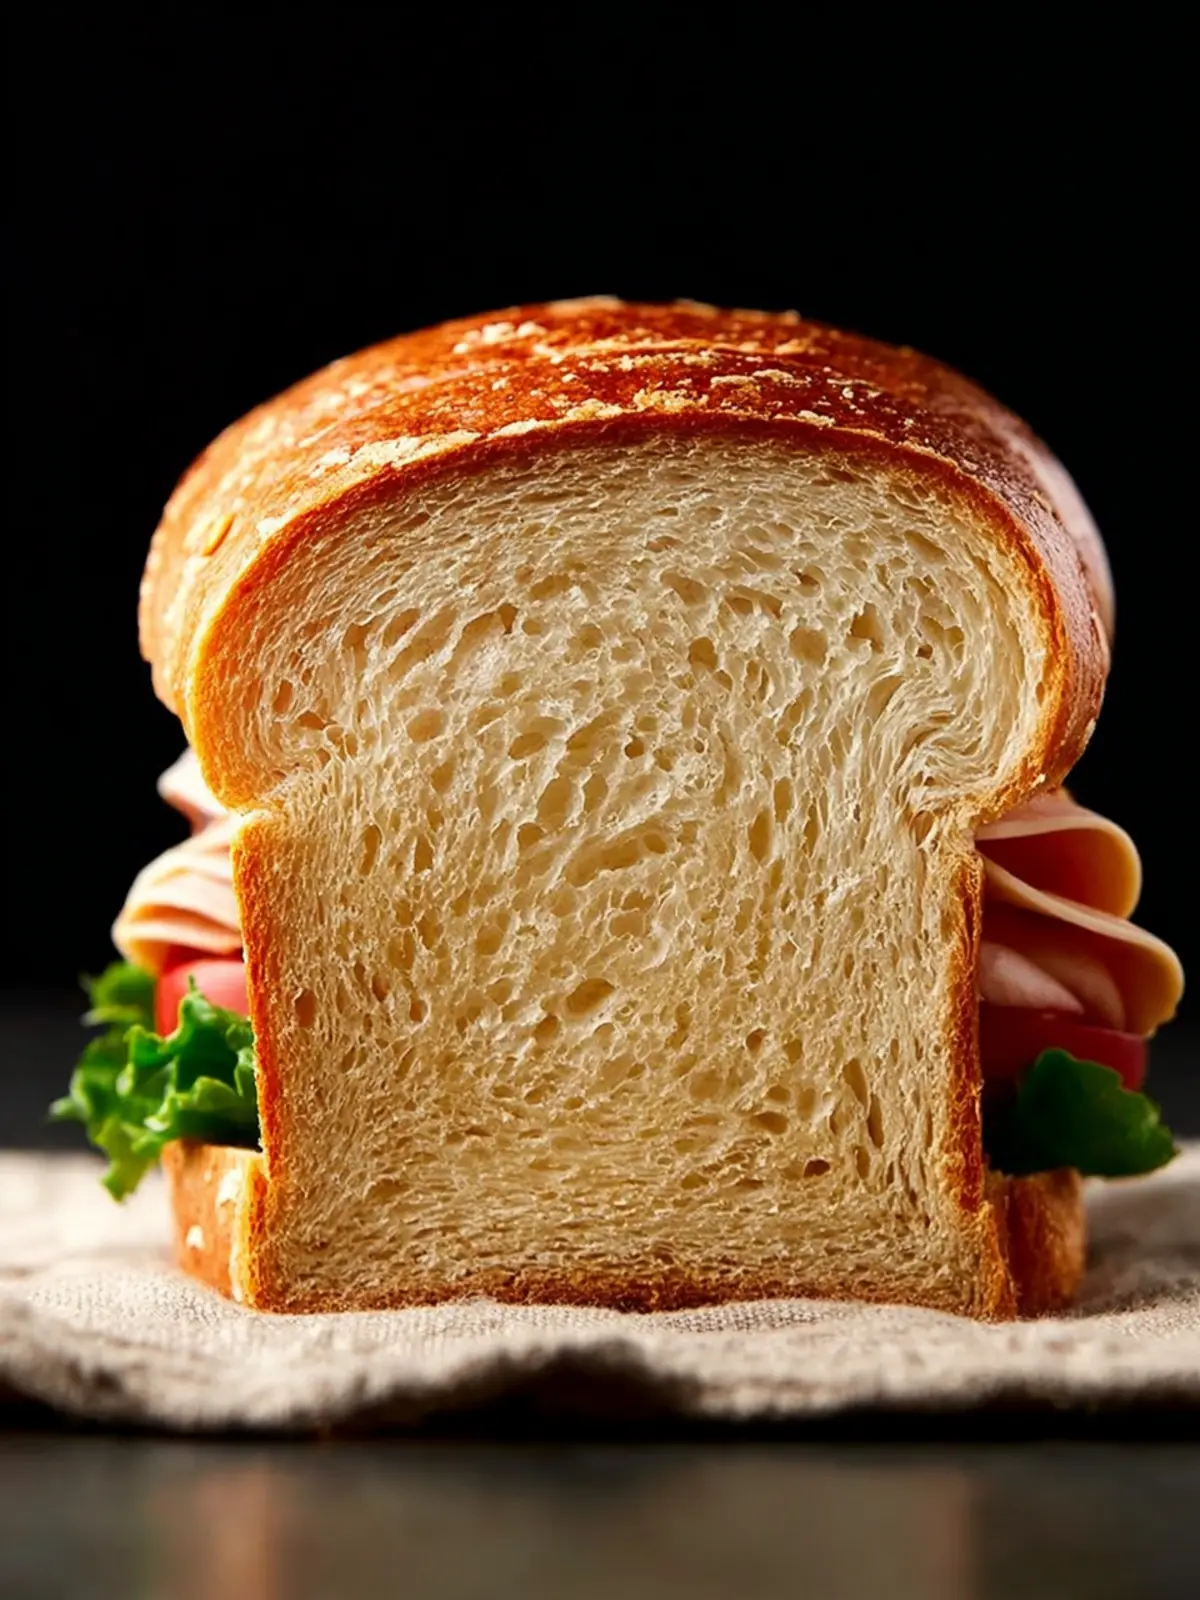
Tips for Making Perfect Simply Sandwich Bread
Creating your own simply sandwich bread can be a rewarding and surprisingly simple endeavor. Imagine the satisfaction of biting into a piece of warm, homemade bread that fills your home with the aroma of fresh baking. Here are some friendly tips to elevate your bread-making game.
Choose High-Quality Ingredients
- Flour: Opt for bread flour if possible. Its higher protein content helps develop gluten, resulting in a chewier texture.
- Yeast: Fresh, active yeast is crucial for a good rise. If you’re using dry yeast, give it a few minutes to bloom in warm water before mixing it into your dough.
- Salt: Don’t skip the salt; it not only enhances flavor but also strengthens the gluten structure.
Perfect Your Dough
- Kneading: Knead your dough until it’s smooth and elastic, usually about 8-10 minutes. A well-kneaded dough will make all the difference in achieving that perfect rise.
- Rising Time: Allow your dough to rise in a warm, draft-free area. It should double in size. Patience is key; don’t rush the process!
Shape It Right
- Loaf Shaping: When shaping your loaf, be sure to tuck in the sides tightly. This helps create that nice, uniform shape that slices beautifully.
Bake with Love
- Oven Temperature: A hot oven is essential. Preheat it thoroughly to give your bread a proper rise in the oven.
- Test for Doneness: Tap the bottom of the loaf; if it sounds hollow, it’s time to take it out!
With these tips, your simply sandwich bread is sure to become a family favorite. Enjoy the process, and don’t forget to share your creations!
Time Breakdown for Simply Sandwich Bread
Every slice of simply sandwich bread tells a story of comfort and familiarity, perfect for those busy weeknights or lazy weekends. Knowing the time you’ll spend on each step helps you plan your baking journey better.
Preparation Time
Setting aside about 15 minutes to prepare your ingredients is enough. This includes mixing your flour, yeast, salt, and water into a smooth dough.
Rising Time
Patience is key! The dough needs to rise for about 1 to 1.5 hours or until it doubles in size. This is when the magic happens!
Baking Time
Once risen, bake your simply sandwich bread for approximately 30 to 35 minutes. You’ll know it’s done when it has a golden crust and sounds hollow when tapped.
Total Time
From start to finish, you’re looking at roughly 2 to 2.5 hours to create this delicious bread. So, grab your ingredients and get ready to enjoy the delightful aroma wafting through your kitchen!

Nutritional Facts for Simply Sandwich Bread
Creating your own Simply Sandwich Bread isn’t just a delicious endeavor; it also offers a thoughtfully balanced nutritional profile that’s hard to beat. Here’s a closer look at what makes this bread an excellent choice for your meals.
Calories
Each slice of this simply sandwich bread contains approximately 70-80 calories. This makes it a great base for a hearty sandwich without overwhelming your daily caloric limit.
Protein
With about 2-3 grams of protein per slice, this bread provides a nice boost to your meal. Whether you’re piling on some turkey or making it the foundation for a peanut butter sandwich, that protein can help keep you feeling satisfied.
Sodium
One of the perks of making your own simply sandwich bread is controlling the ingredients. Each slice has around 130-150 mg of sodium, significantly lower than many store-bought options. This makes it the perfect choice for those mindful of their sodium intake.
Enjoy making and savoring your Simply Sandwich Bread, knowing it not only tastes great but also contributes to a nutritious diet!
FAQs about Simply Sandwich Bread
When you finally master the art of making simply sandwich bread, it opens up a world of culinary possibilities, from classic sandwiches to inventive toast recipes. Here are some common questions that might pop up as you embark on your homemade bread journey.
Can I use whole wheat flour instead?
Absolutely! While this simply sandwich bread recipe calls for all-purpose flour to create a light, airy texture, you can substitute some or all of it for whole wheat flour. Keep in mind, though, that whole wheat flour will yield a denser loaf and may require a slight adjustment in liquid. A mix of half all-purpose and half whole wheat flour can be a delicious compromise that adds nutrition without compromising too much on texture.
How do I store homemade bread?
Homemade bread has a delightful freshness that’s hard to beat. To keep your simply sandwich bread tasting great, store it at room temperature in a bread box or wrapped in a clean kitchen towel. Avoid plastic bags for long-term storage, as they can create moisture and lead to mold. If you have leftovers that you won’t eat within a couple of days, slice the bread and freeze it. Just pop it in the toaster straight from the freezer whenever you’re in the mood for a slice.
What can I use this bread for?
The versatility of simply sandwich bread is one of its best features! Use it for:
- Classic peanut butter and jelly sandwiches
- Gourmet grilled cheese
- Tasty breakfast toast topped with avocado and poached eggs
- Homemade French toast
With its soft texture and comforting flavor, this bread is your perfect partner in meals, snacks, or even as a side for soups and salads. Enjoy the journey of discovering just how many wonderful dishes you can create with it!
Conclusion on Simply Sandwich Bread
Baking your own simply sandwich bread can be an incredibly rewarding experience. Not only does it fill your kitchen with a delightful aroma, but it also results in a loaf that’s tasty and wholesome. The ingredients blend so harmoniously, creating a texture that is perfect for any filling.
Whether you’re crafting a classic peanut butter and jelly sandwich or a gourmet turkey club, this bread stands up to the task. It’s versatile, easy to make, and satisfying to slice up when you’re ready to enjoy. Embrace the joy of making your own bread; it truly elevates your meals!
Print
Homemade Bread
- Total Time: 2 hours 50 minutes
- Yield: 1 loaf 1x
- Diet: Vegetarian
Description
This homemade bread recipe is simple and yields a soft, delicious loaf perfect for sandwiches or toast.
Ingredients
Scale
- 1 cup warm milk
- 1/3 cup warm water
- 2 tablespoons sugar
- 2 1/4 teaspoons instant yeast
- 3 tablespoons unsalted butter, softened
- 3 1/2 cups all-purpose flour
- 1 1/2 teaspoons salt
Instructions
- Warm milk and water until lukewarm (100–110°F). Add sugar and yeast, then let sit 5 minutes until foamy.
- In a mixing bowl, combine the foamy mixture, flour, salt, and softened butter. Mix with a dough hook on low until a rough dough forms.
- Knead for 6–8 minutes using a mixer or 10 minutes by hand, until dough is smooth and elastic.
- Place dough in a greased bowl, cover with a damp towel, and let rise in a warm place for 1–2 hours or until doubled in size.
- Punch down the dough and shape into a loaf. Place into a greased 9×5-inch loaf pan.
- Cover and let rise again for 45–60 minutes, until it rises about 1 inch above the rim.
- Preheat oven to 350°F (175°C).
- Bake for 30–35 minutes, or until the top is golden brown and internal temperature reaches 190°F.
- Remove from pan and cool on a wire rack before slicing.
Notes
- Ensure the water and milk are not too hot, as high temperatures can kill the yeast.
- This bread can be stored in an airtight container at room temperature for up to 3 days.
- Prep Time: 15 minutes
- Cook Time: 35 minutes
- Category: Baking
- Method: Baking
- Cuisine: American
Nutrition
- Serving Size: 1 slice
- Calories: 120
- Sugar: 1g
- Sodium: 150mg
- Fat: 4g
- Saturated Fat: 2g
- Unsaturated Fat: 2g
- Trans Fat: 0g
- Carbohydrates: 21g
- Fiber: 1g
- Protein: 3g
- Cholesterol: 10mg